Creating A Chatbot with Twilio - Part 2
Today I wanted to continue my 2 part Chatbot tutorial, start at part 1.
Using ngrok
I had to get the pro version of ngrok for my usage, here is the command I run to get the tunneling working:
./ngrok http -host-header=rewrite -hostname=[yourhostname].ngrok.io [localinstancepath]:4444Let’s breakdown the above command:
- [yourhostname]: replace this with whatever you set your Reserved domain to within ngrok logged in panel. (remember to remove the [])
- [localinstancepath]: this will be the path to your locally served site. (maybe localhost:4444), with port set to 4444.
Make sure this flag is set: -host-header=rewrite
Setting up Twilio
Now head on over to Twilio and secure yourself a number to text. Then within Twilio’s Dashboard, go to:
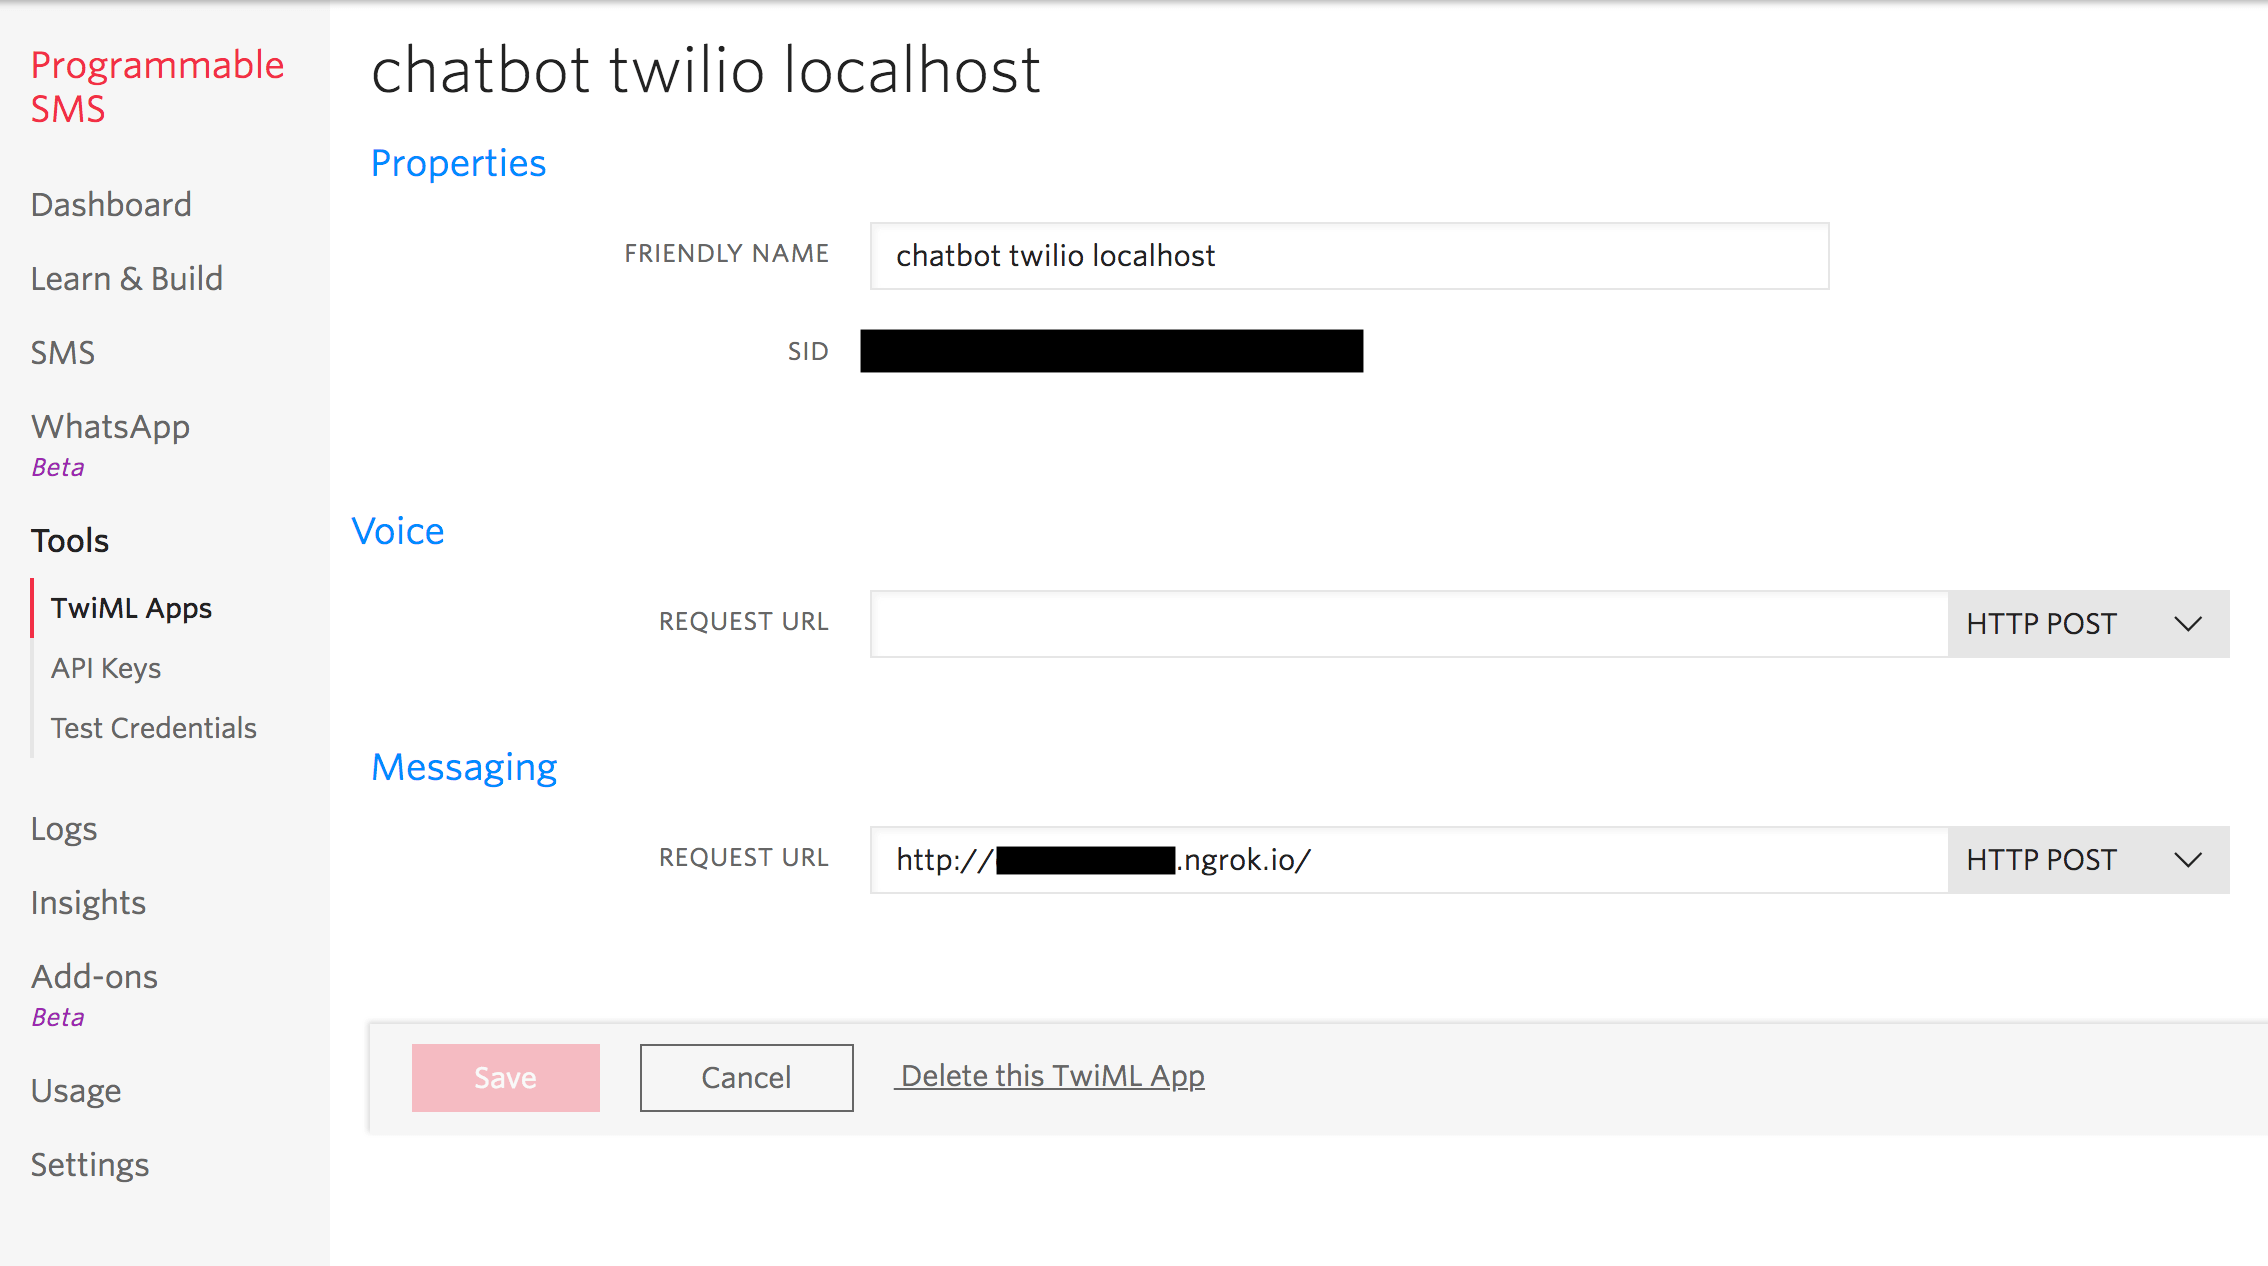
Programmable SMS -> Tools -> Create TwiML Apps
You should see something like this:

This is where you will want to set up the app and the expected Request URL for said app.
After you get access to a number, you will want to go to the Phone Numbers section:
… -> Phone Numbers -> Click on your active number
Then scroll down until you see something like this:

This is where you can link the number to whichever request url you’d like to test. So whenever you text this number, the message that you send will then hit this webhook that you set.
To grab that message, add something like this to within your controller (wherever you have the webhook hitting). Please keep in mind again, as said in part 1, this webhook needs to be set as a post() route within Larvel/Lumen (or whatever you are using as your backend).
$response = new Twiml();
$message = $response->message();
$textString = $request->input('Body');
Of course, after all of this localhost testing with ngrok tunneling, you will want to change these webhooks to be the URLS of where they will actually live. But this is a great way to use ngrok as a production mask, that tunnels to your localhost environment as a quick and easy local sandbox!! So cool!
That’s it! Have ALL the fun with the actual logic paths and return text! Start a conversation with your chatbot…